Hosting a donation drive to benefit Children’s Center is a powerful (and fun!) way to give back to your local community. Your donations will help vulnerable kids and families right here in Clark County. We’re here to support you and help you make your event a success! This step-by-step guide breaks down the planning process into seven easy steps, to make your drive abundant and stress-free. Plus, here’s a handy checklist you can print off to keep you on track!
1. Get started early.
Starting early will make planning your drive easy and stress-free. The most successful drives allow for three to six weeks of advertising, so you need to start planning at least a month in advance of when you want to host the drive.
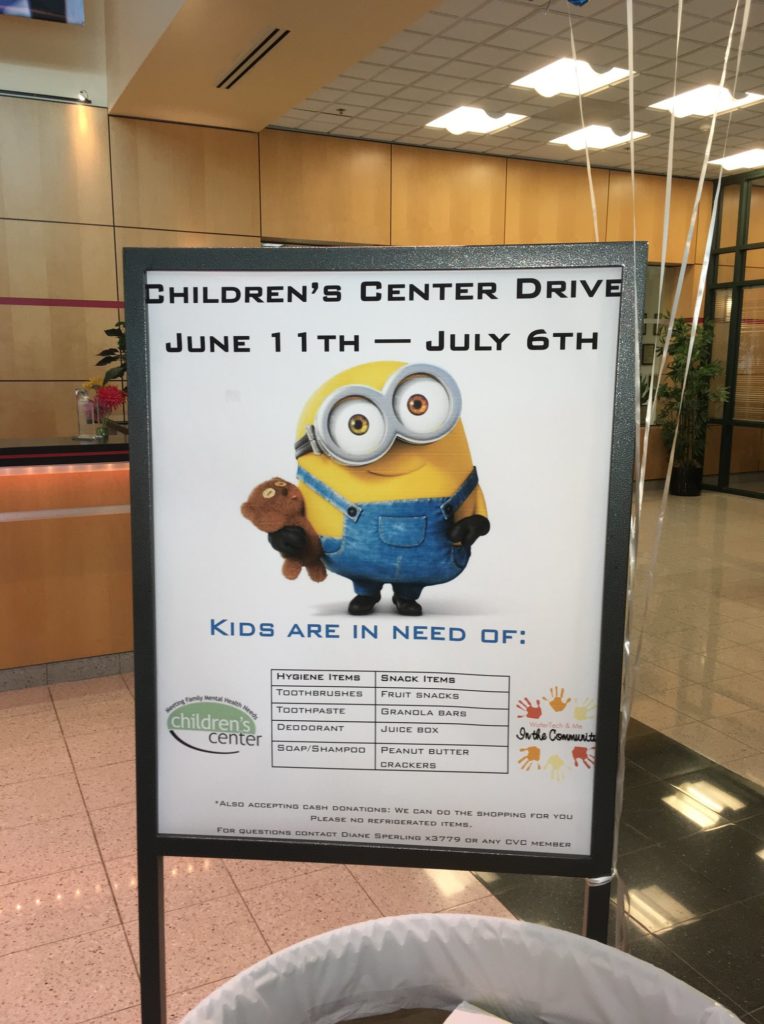
Sign advertising a donation drive at WaferTech
2. Pick an accessible drop-off location.
Choosing a good location is a key part of hosting a well-received donation drive. Consider the following questions when deciding where to host yours:
- Does the location get a lot of foot traffic?
- Is it accessible to the public (as opposed to being behind a locked door or in a restricted area)?
- Are there other signs or stands competing for attention in the space?
- Is there enough room for a large box or bin?
- Will you be able to use the space for at least one week?
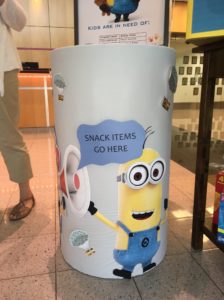
Once you decide, advertise the upcoming drive in that space. Place a large, clearly-labeled box or bin in the space once collections have begun and empty it if the bin becomes too full so there’s more room for people to donate.
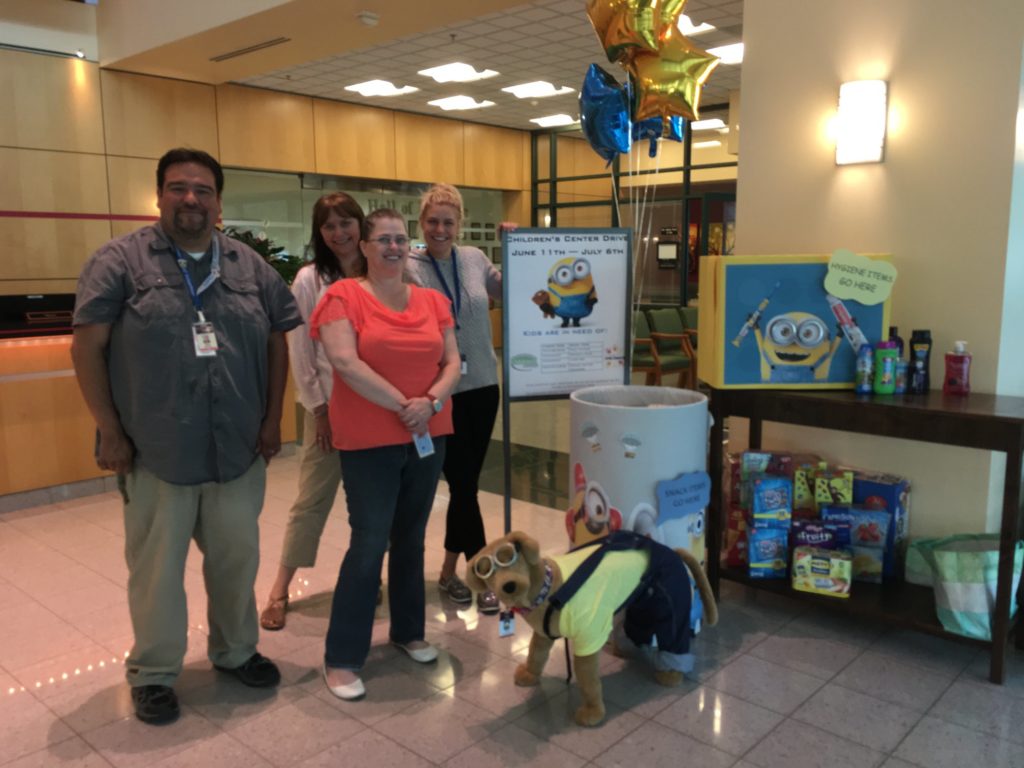
-
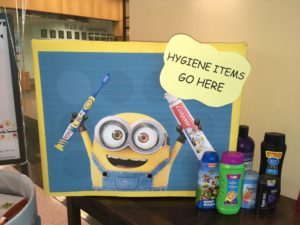
- WaferTech used a popular Minions theme to attract attention to their drive
3. Spread the word far and wide.
Your drive will be much more successful if you create a buzz surrounding your event and let lots of people know. If you’re working alone, try to recruit a partner or small group. Working as a team will help keep the momentum going and allow you to reach a wider network.
WaferTech employees worked as a team to coordinate a successful drive
Some ideas to get the word out include:
- Create a social media post about your drive on your organization’s account, or your personal account. Then, ask the location where you’re hosting the drive to re-post. Tag Children’s Center in your post so we can share the word too!
- Use free graphic design tools like Canva to create attractive flyers and post them around the drop-off location.
- Contact your local newspaper and see if they’ll write an article about the donation drive and why Children’s Center is important to you.
- Use Facebook, Eventbrite or other online platforms to create an event for your drive and invite people to it.
- Knock on doors near your home, office and the drop-off location to let people know about the drive.
- Make a live announcement at an event you’re hosting or attending, like a business group meeting, company all-hands or school assembly.
Be consistent with announcements. At each step in the process, share specific details such as:
- When and where the drive is occurring
- An announcement when the drive is open
- Donation progress, such as how many donations you’ve received
- A list of specific items on the wishlist
- A one-day reminder before the drive closes
- Thank yous to donors — bonus points if you can post a photo of the donor dropping off and tag them!
- Information on how someone can donate to Children’s Center if they missed the drive
- Photos of you dropping off the supplies at Children’s Center
4. Personally ask for donations.
People are more likely to make a donation when they have a connection to the cause. So don’t be shy! Tell your friends, family, coworkers — even strangers — why you’re hosting the drive. Be sure to also give them more information about Children’s Center and how their donation will help children and families in Clark County.
Encourage everyone to help spread the word by sharing your message with their friends, too.
5. Provide ideas for what to donate.
Make it as easy as possible for people to donate by providing examples of what you want to receive. You can copy this information directly from our wishlist, or our latest print newsletter. In-demand items usually include:
- Personal care items
- Non-perishable foods
- Grocery store gift cards
- Gas gift cards
- Healthy snacks
-

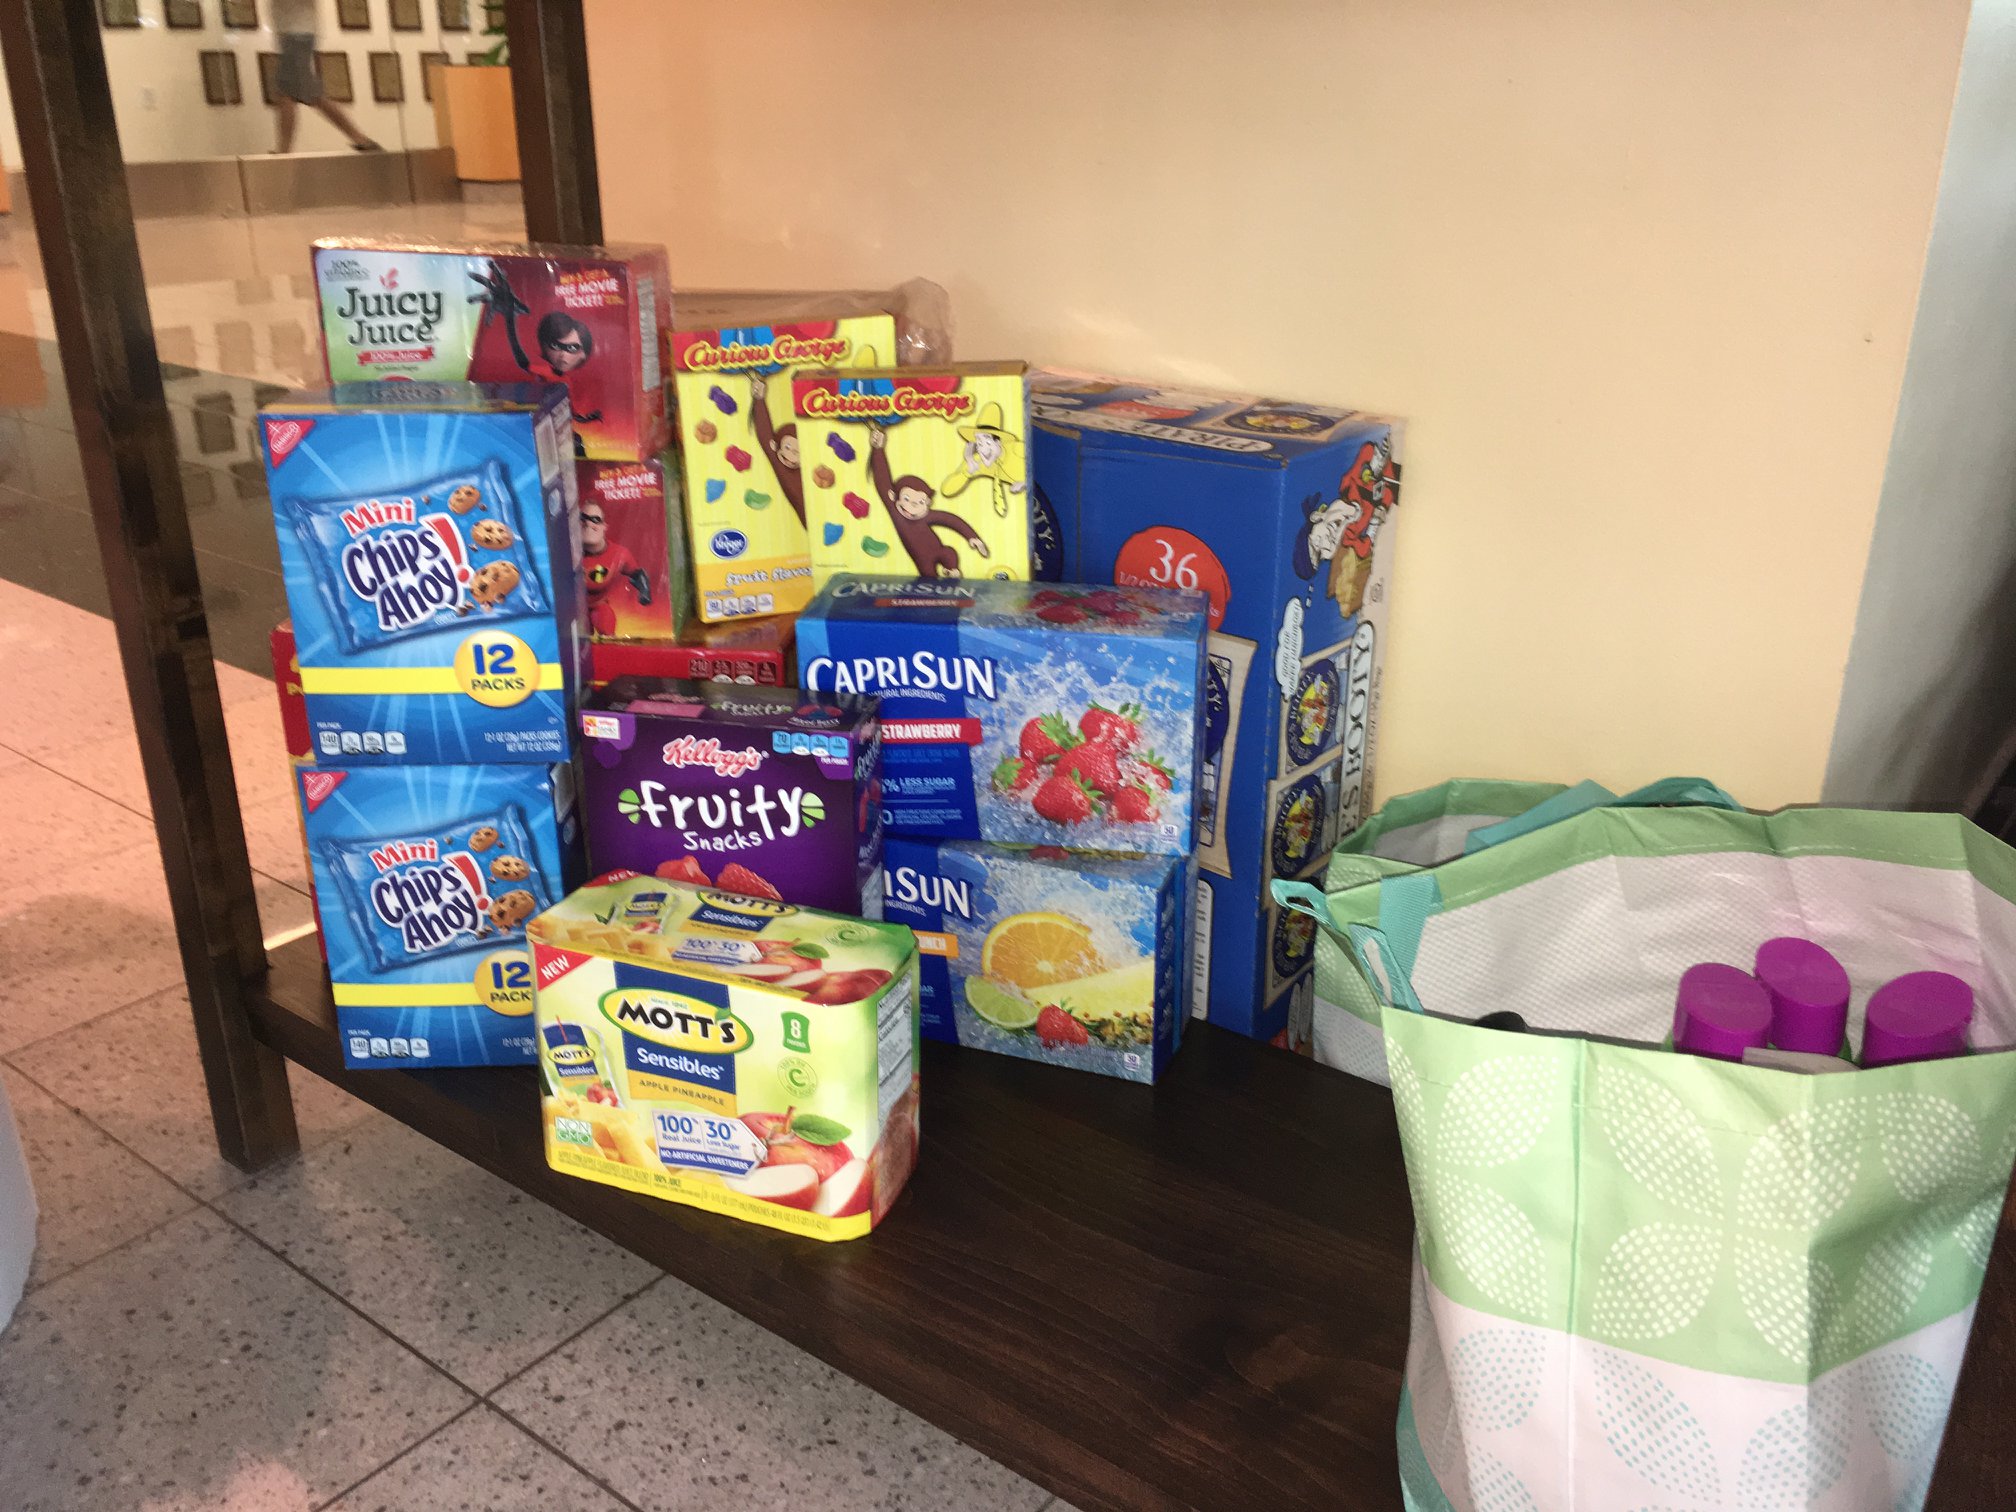
- Donations fill the need for everything from therapy room supplies, to personal care items, to holiday gifts!
6. Say ‘Thank you!’
At every step — and especially after the drive ends — be sure to express your gratitude to donors. If you know who donated what, reach out to them personally. If you’re not sure who donated, post a message on the event page or send an email blast with your appreciation. This small gesture will go a long way toward making future donation drives a success, too!

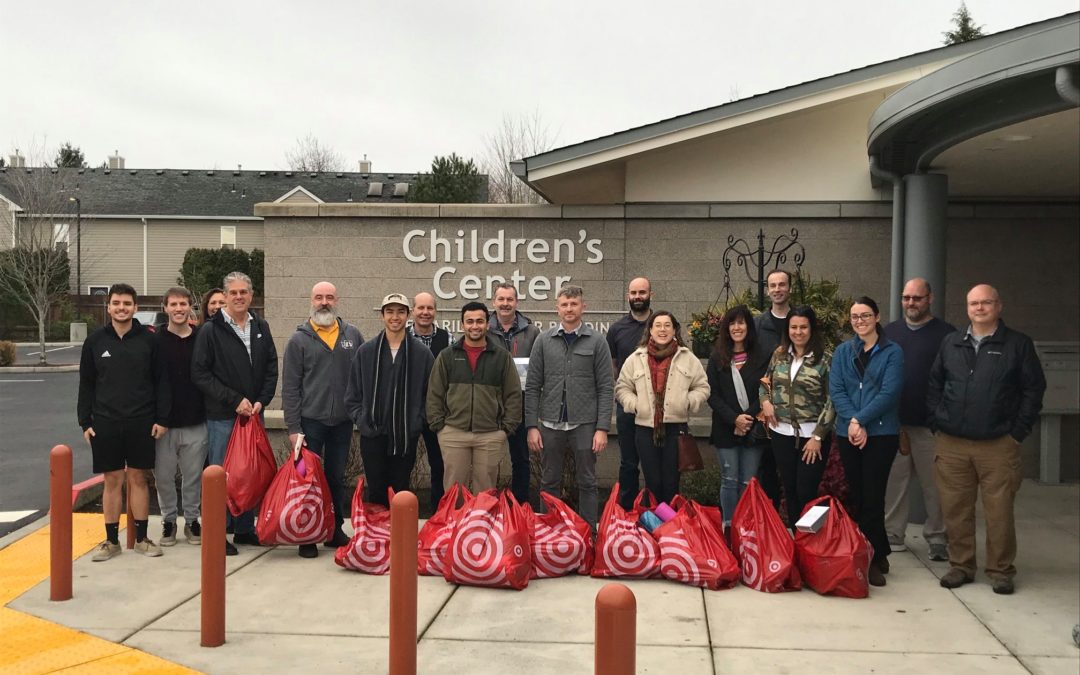
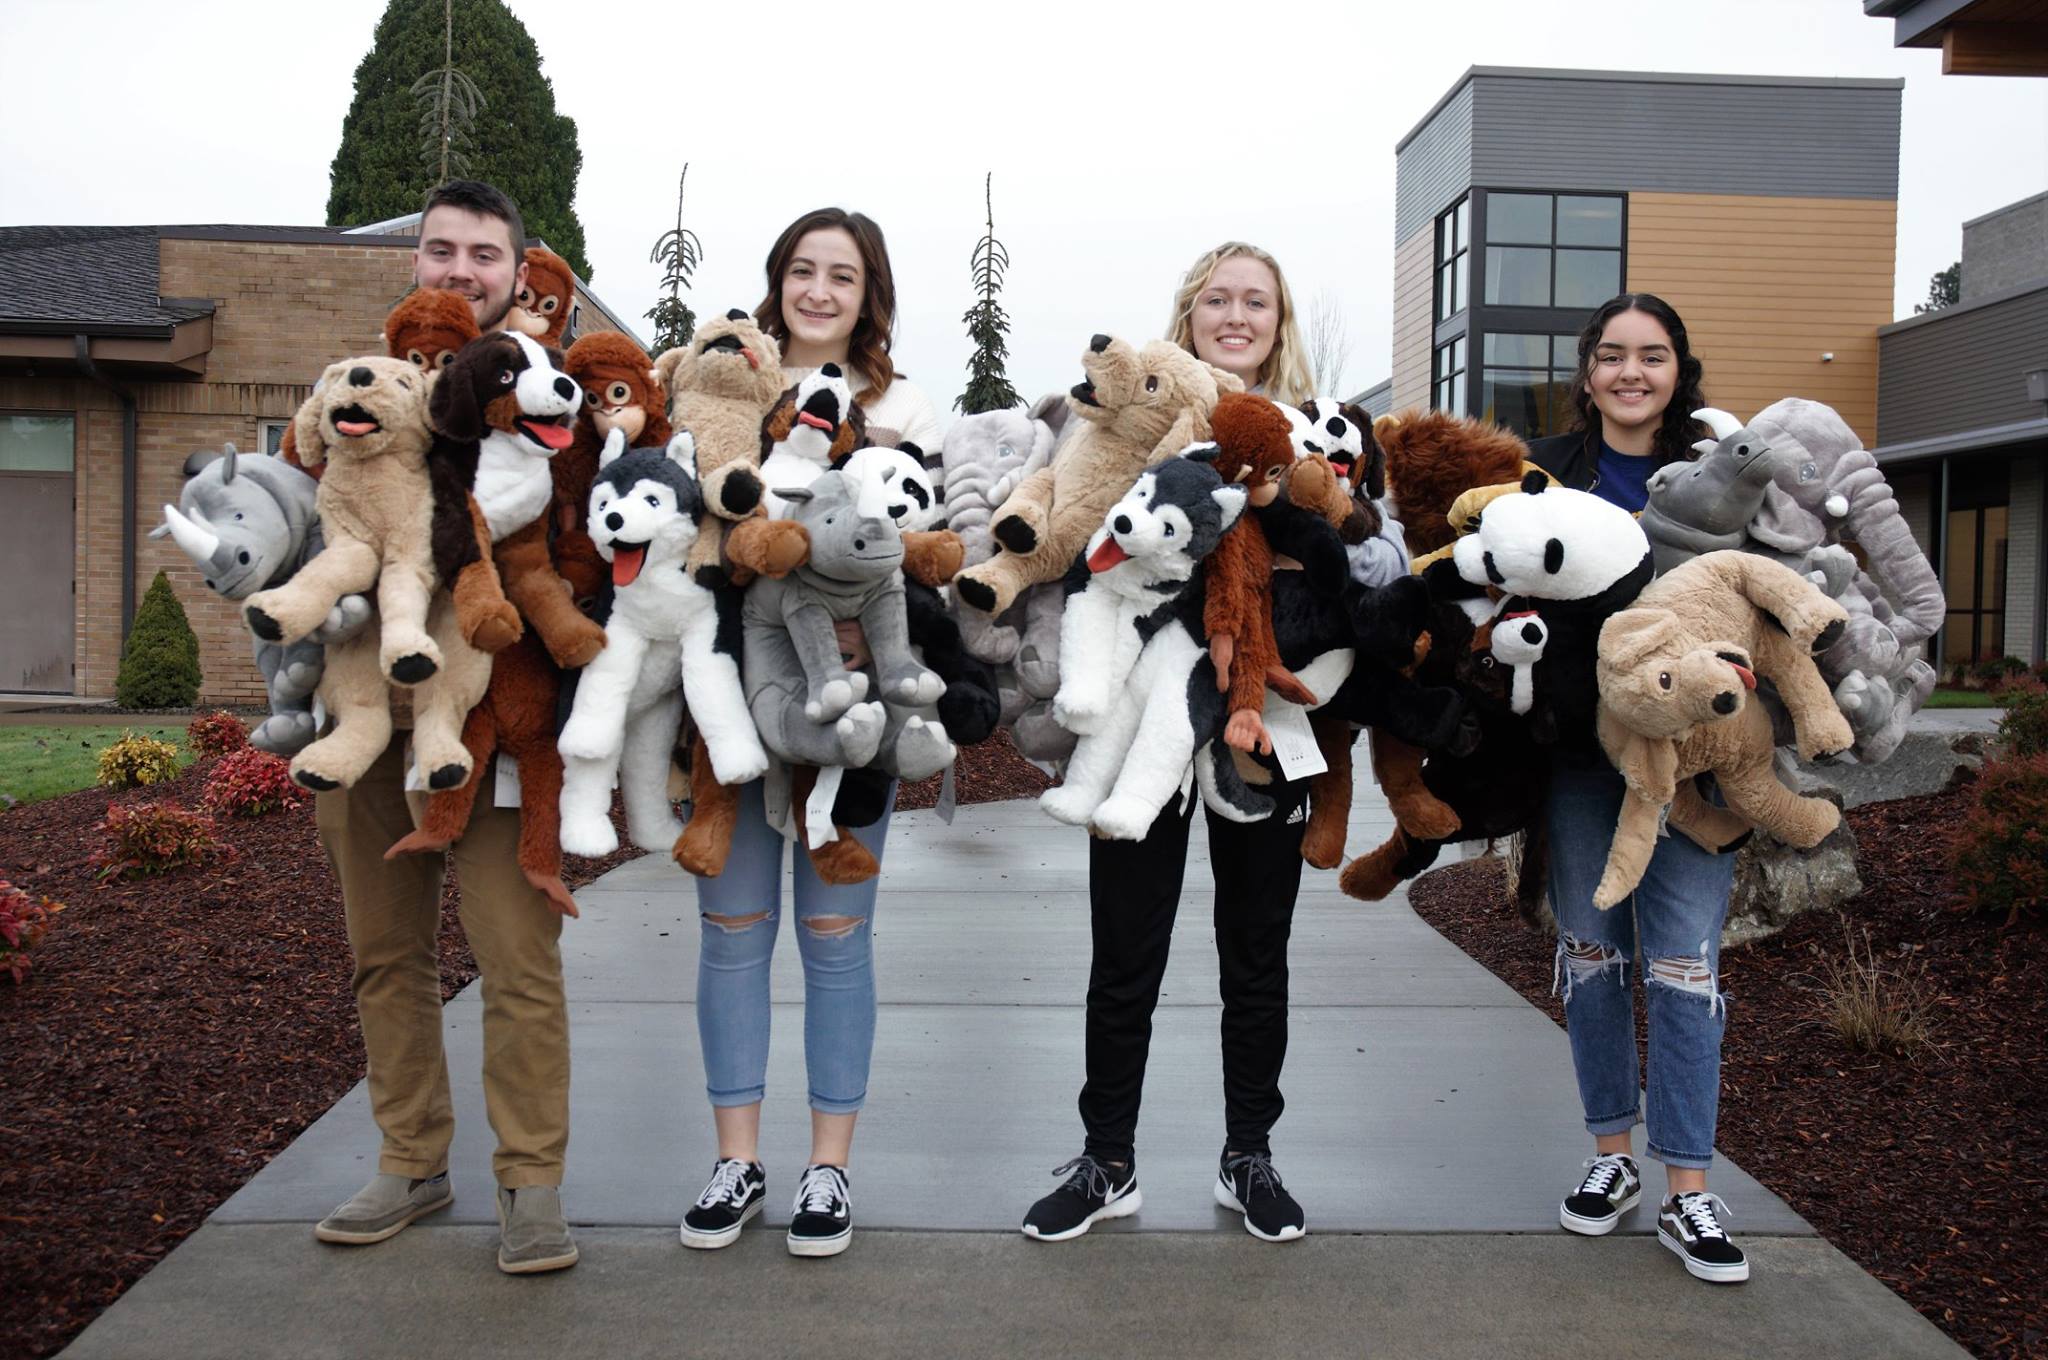
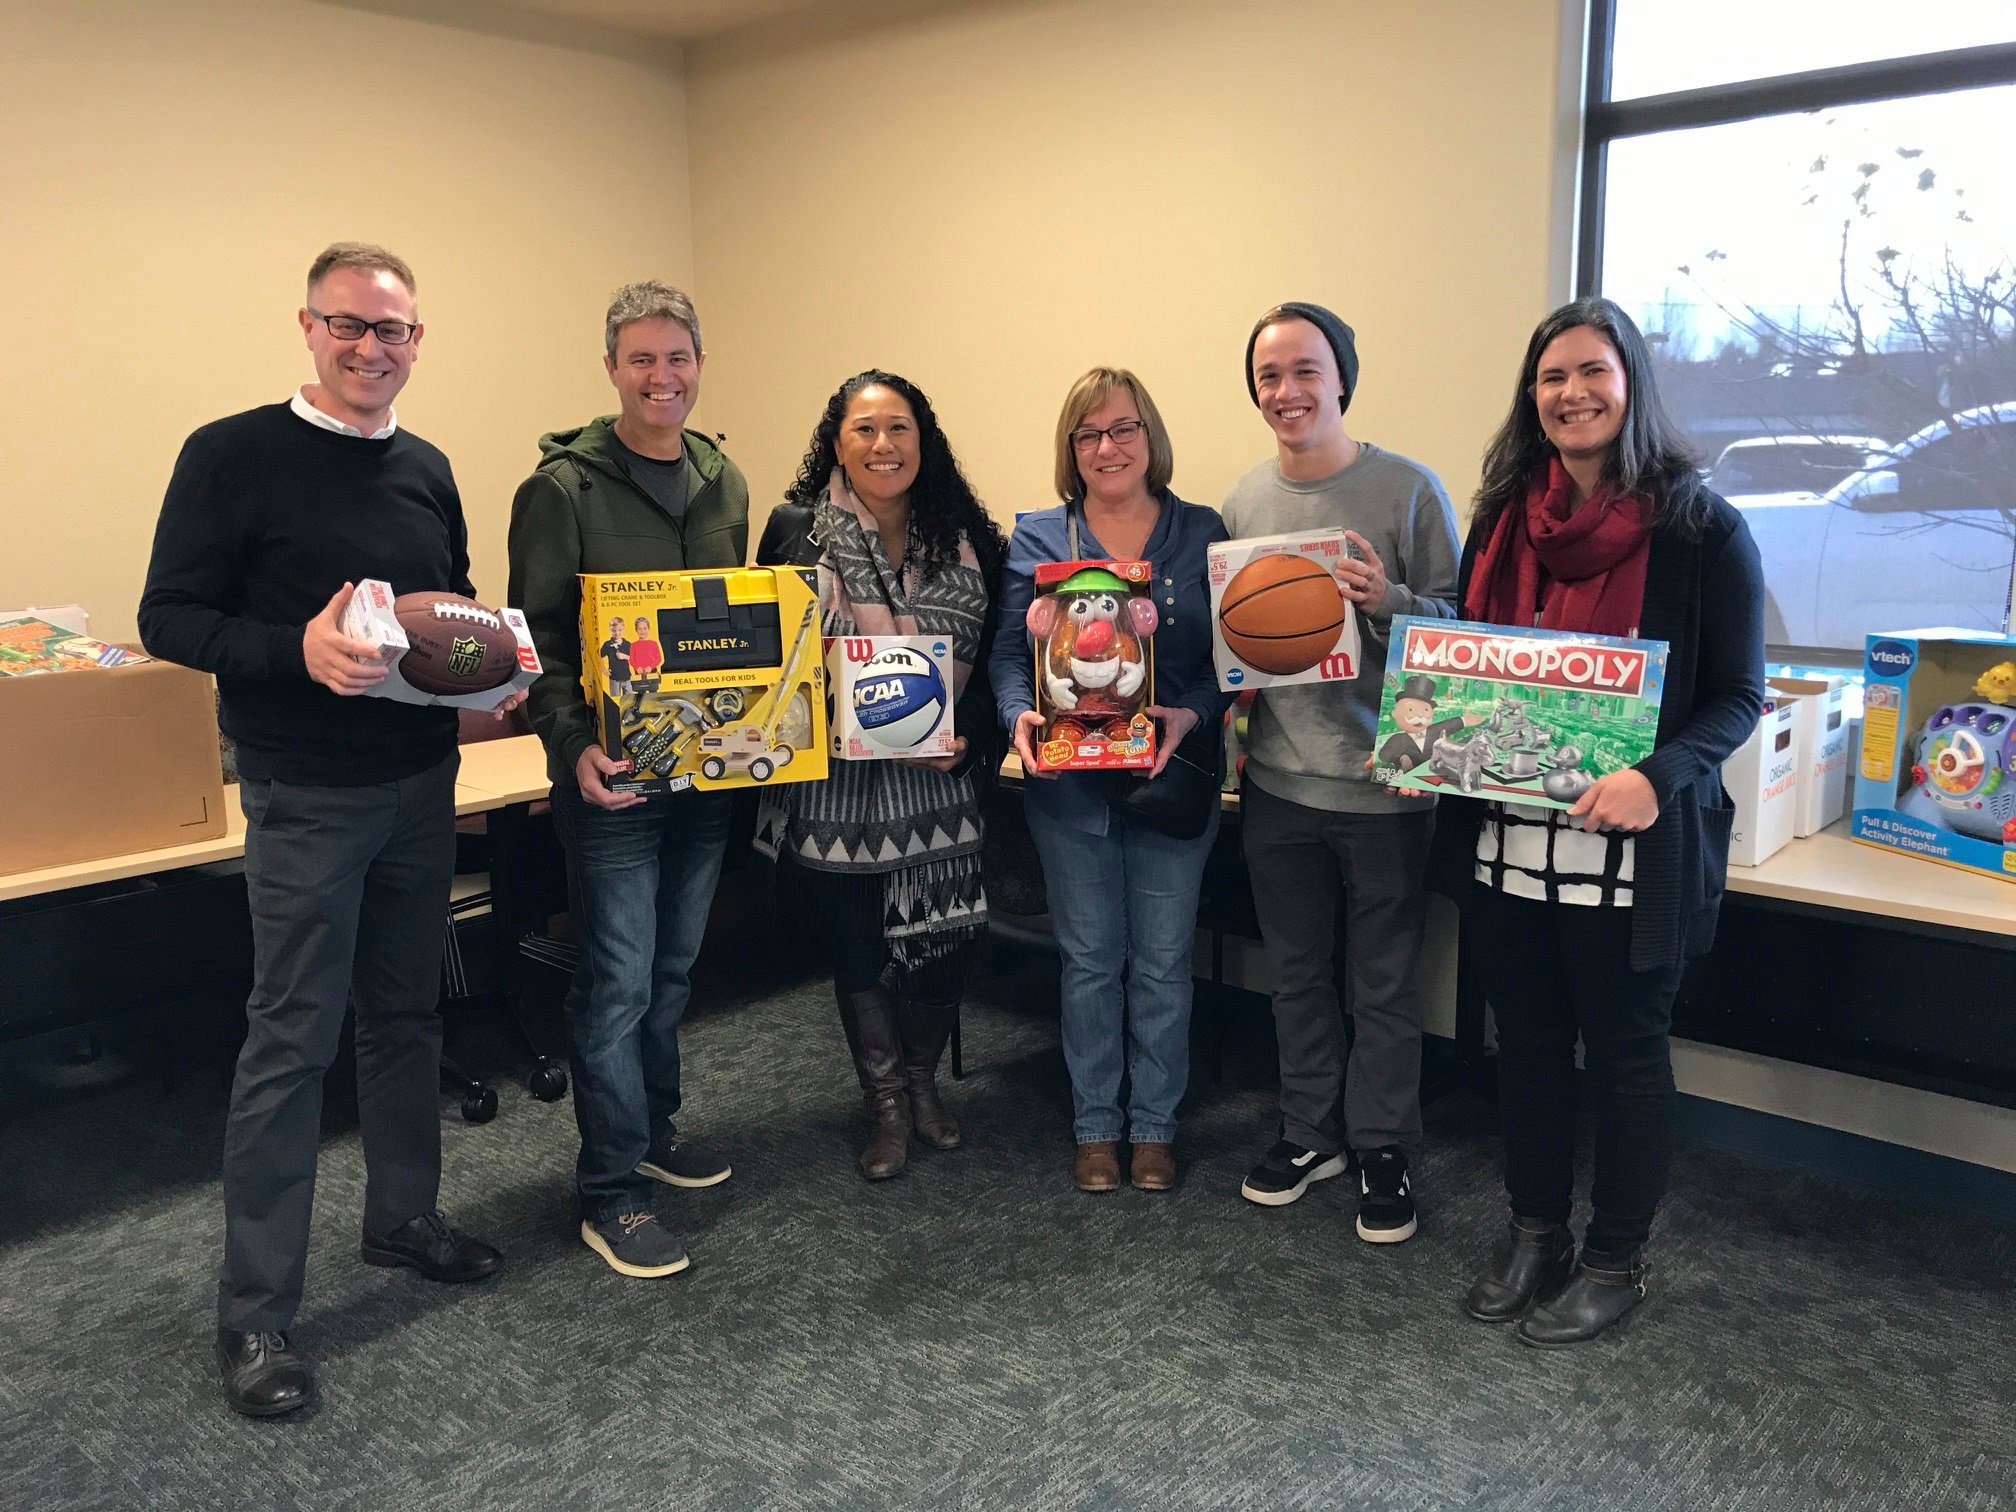
It’s fun and rewarding to bring the whole team when you drop off donations in person!
7. Recruit a team to help you deliver.
Hopefully, you’ve found several other people who are enthusiastic about donating to Children’s Center during the planning and execution of your drive. Then the collection period has ended, ask those people if they’d like to join you when you deliver the donations. We love meeting dedicated volunteers like you!
Donations are accepted Monday – Friday from 8 a.m – 7 p.m. at Children’s Center’s Marilyn Moyer building at 13500 SE 7th Street, Vancouver, WA 98683. You may also contact Jennie Hoscald at jennieh@thechildrenscenter.org to arrange a time for drop-off.
Ready to get started? Download this handy Donation Drive Planning Checklist »
Get inspired and see more donation drive photos on our Facebook! Be sure to “Like” us while you’re there so we can stay connected.